Showing posts with label handmade. Show all posts

Tuesday, January 3, 2012

RoseVintage Soiree!

OUR FIRST EVENT

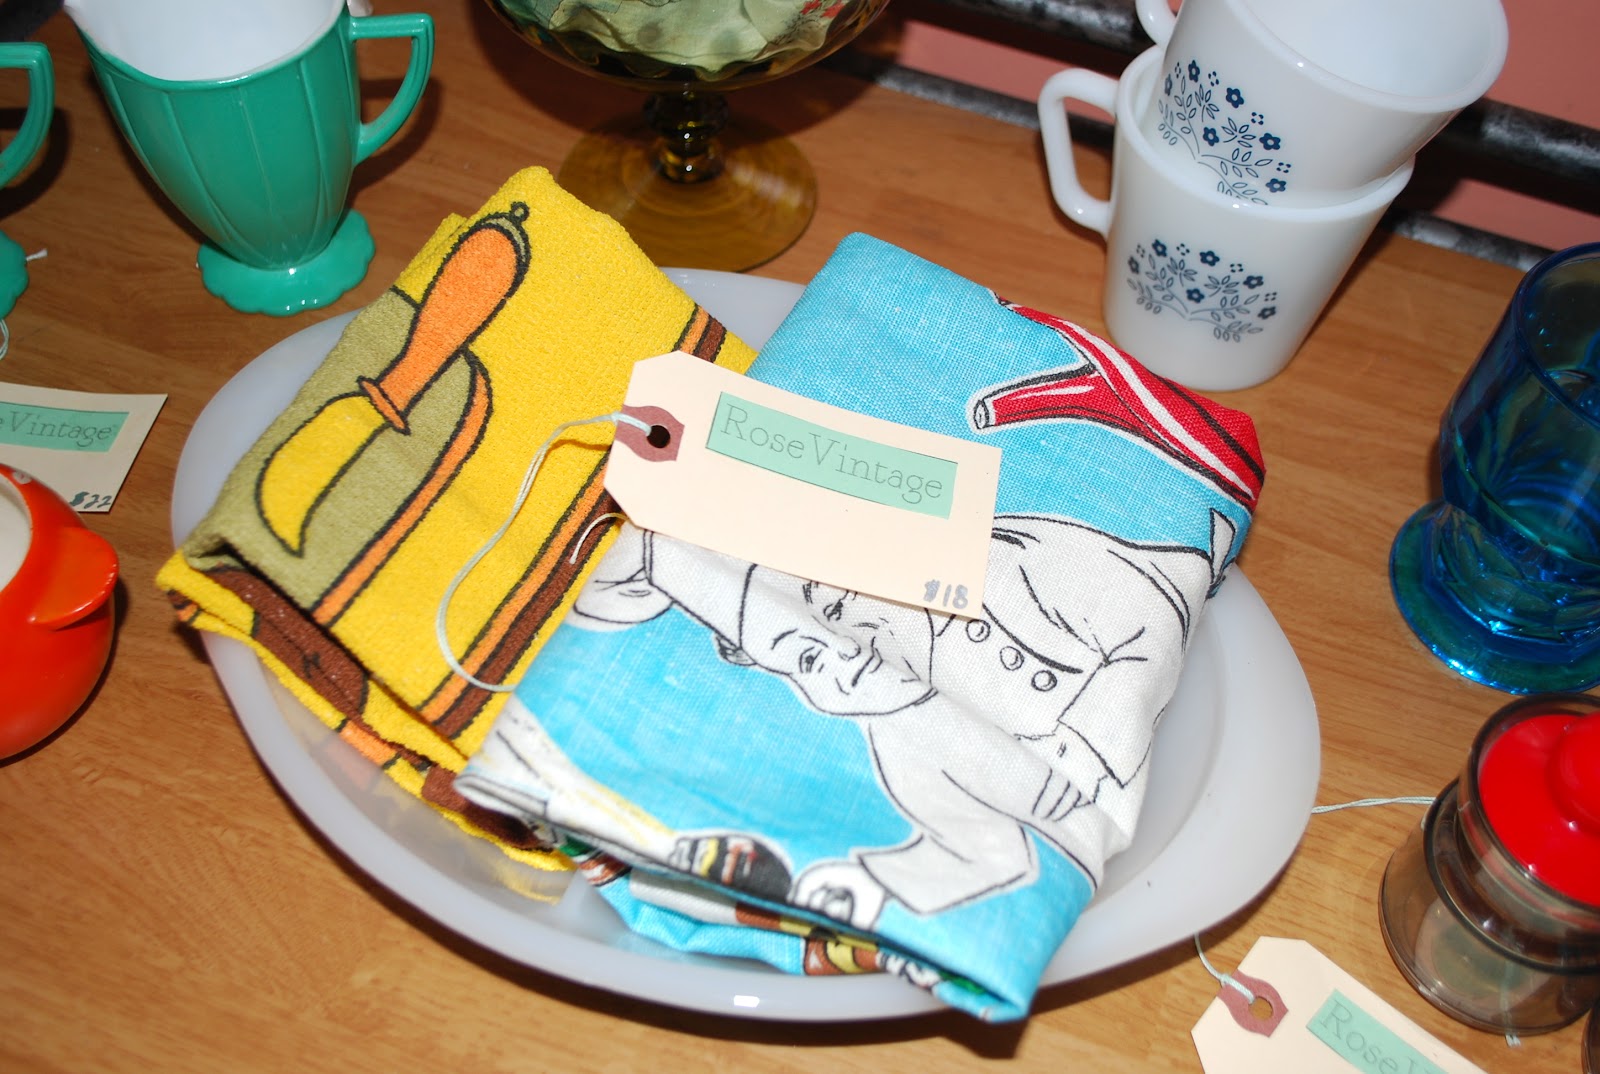
Over the weekend I threw a little party for RoseVintage! I thought it would be fun while I'm in Michigan visiting family. Since it was only a few days before NYE I thought it would be fun to serve champagne punch & use glitter throughout for details. A glitter RoseVintage banner hung over a granny square quilt welcomed you to the soiree! I served a cheese platter, veggie tray, stuffed mushrooms & roll ups as hors d'oeuvre. To drink, we had an amazing champagne punch (recipe coming soon)! I love dessert tables.. it's my favorite part of any party! I decorated cupcakes with glitter sprinkles & made red velvet cake & petit fours! The event was a huge sucess & I was finally able to use Square (love it)! 


Hope to see you at the next RoseVintage event! :)

Sunday, November 13, 2011

DIY TheseNotions


GUEST POST SUNDAY

Meet Dina, the beautiful lady behind


She has been one of my sponsors
 for a couple months 
& we've quickly become friends!

She's sharing a lovely necklace D.I.Y


Hi,  I'm Dina!

I was so excited (and honored) when Sam asked me to guest post a tutorial for her blog.  Although I've never met her in person, I think she is ADORABLE and have been so blessed by her!  She is one of the first bloggers that I have connected with in the blogging world and has been such a sweetheart to me.  I would like to thank her for that.  


Thanks Sam! 

I gave Sam a choice on what tutorial she would like for me to share with you all, and she chose a necklace that I have for sale in my etsy shop.  It too is a favorite of mine.  Here we go!


Crystal and Pearl Chain Link Tutorial

This is a super easy necklace to make.  (I hope I make it super simple to understand) 

First gather the tools and supplies.  All of the following are available at any craft supply store.  My personal preference is Hobby Lobby.


You need:

Wire cutters   

Flat nose pliers

Round nose pliers 

Chain  

Center drilled beads
 (in this tutorial, 4mm cream colored pearls 
and 6mm champagne colored crystals)

Headpins


First, decide the length of chain that you would like to be between each handwired crystal or bead.  Use the wire cutters to cut your chain into several pieces of the length that you have decided on.  The chain I like to use is a very dainty curb chain.  This is easy to cut through, however, if you choose a chain with bigger links, use your flat nose pliers to open up one of the links and create smaller chain links.

Now we will make a bead connector.


Step 1:  Take a headpin and snip the flat end off of it. Grab one end of the wire with your round nose pliers as close to the tip as you can.


Position your working wrist with your thumb facing you and hold the wire tight with your free hand.


Step 2:  Use only your wrist to bend the round nose pliers torwards you, when you cannot bend your wrist toward you anymore,(you should have half a loop)  reposition your working hand  by loosening the grip on the wire and rotating your wrist away from you until your thumb is facing you again. Tighten the grip of the round nose pliers onto the wire, and again, bend only your wrist to form a circle loop with the wire.   Place a bead onto the open end of the wire, and adjust the finished loop to straighten it using your flat nose pliers.


Step 3:  Bend the wire as close to the top of your bead as you can, to form a 90 degree angle.  


(This is the hardest part) Decide how long of a wire you need to create a loop.  In the photo above I actually snipped a little off to have the correct length.  This part takes practice but once you get it.... its easy.

Repeat Step 2 but know that your bead is already on the wire.  When you are done you should have a beaded connector.  


Step 4:  open one end of the connector and thread it into to the end of one of your chain pieces.  


Connect the pieces together until your necklace is as long as you want it. 

Add whatever finish you like, I prefer a lobster clasp.  or make the necklace big enough that you just connect the ends together to complete the beaded pattern and just throw it over your head.

I hope you all enjoy making a necklace of your own!  


Be sure to check out her Etsy shop! 

Wednesday, November 2, 2011

How will you be invited to our wedding?

WEDDING WEDNESDAY 

As many of you know, Donovan & I are getting married in 2013! Since it's so far away I have lots of time to work on perfecting every last detail, phew! Are you wondering how you will be invited to the special day that's oh so far away?! 

Here's a few of my favorite save the dates
 & wedding invitations!


Paper Record Player

                                            source                                                           source

 source

source


Save the Date


source

I love the planning process so much! I'll share more details/inspiration along the way!

Wednesday, August 3, 2011

Vintage Carnival Engagement Party!


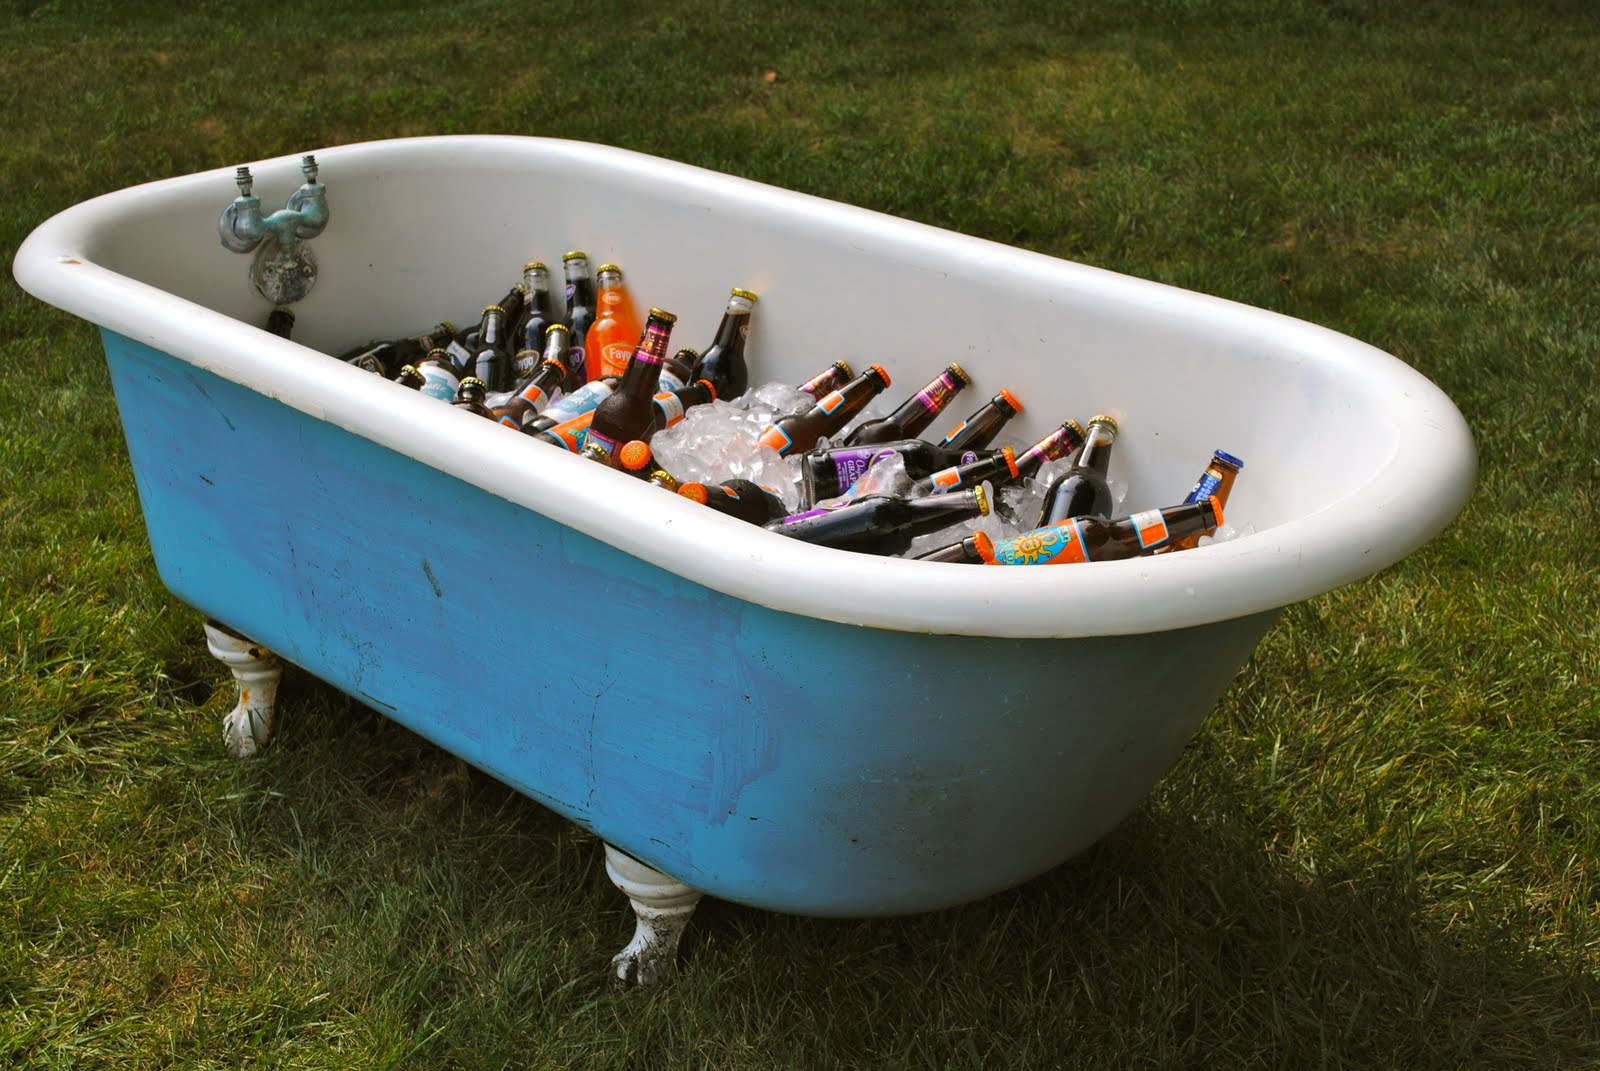
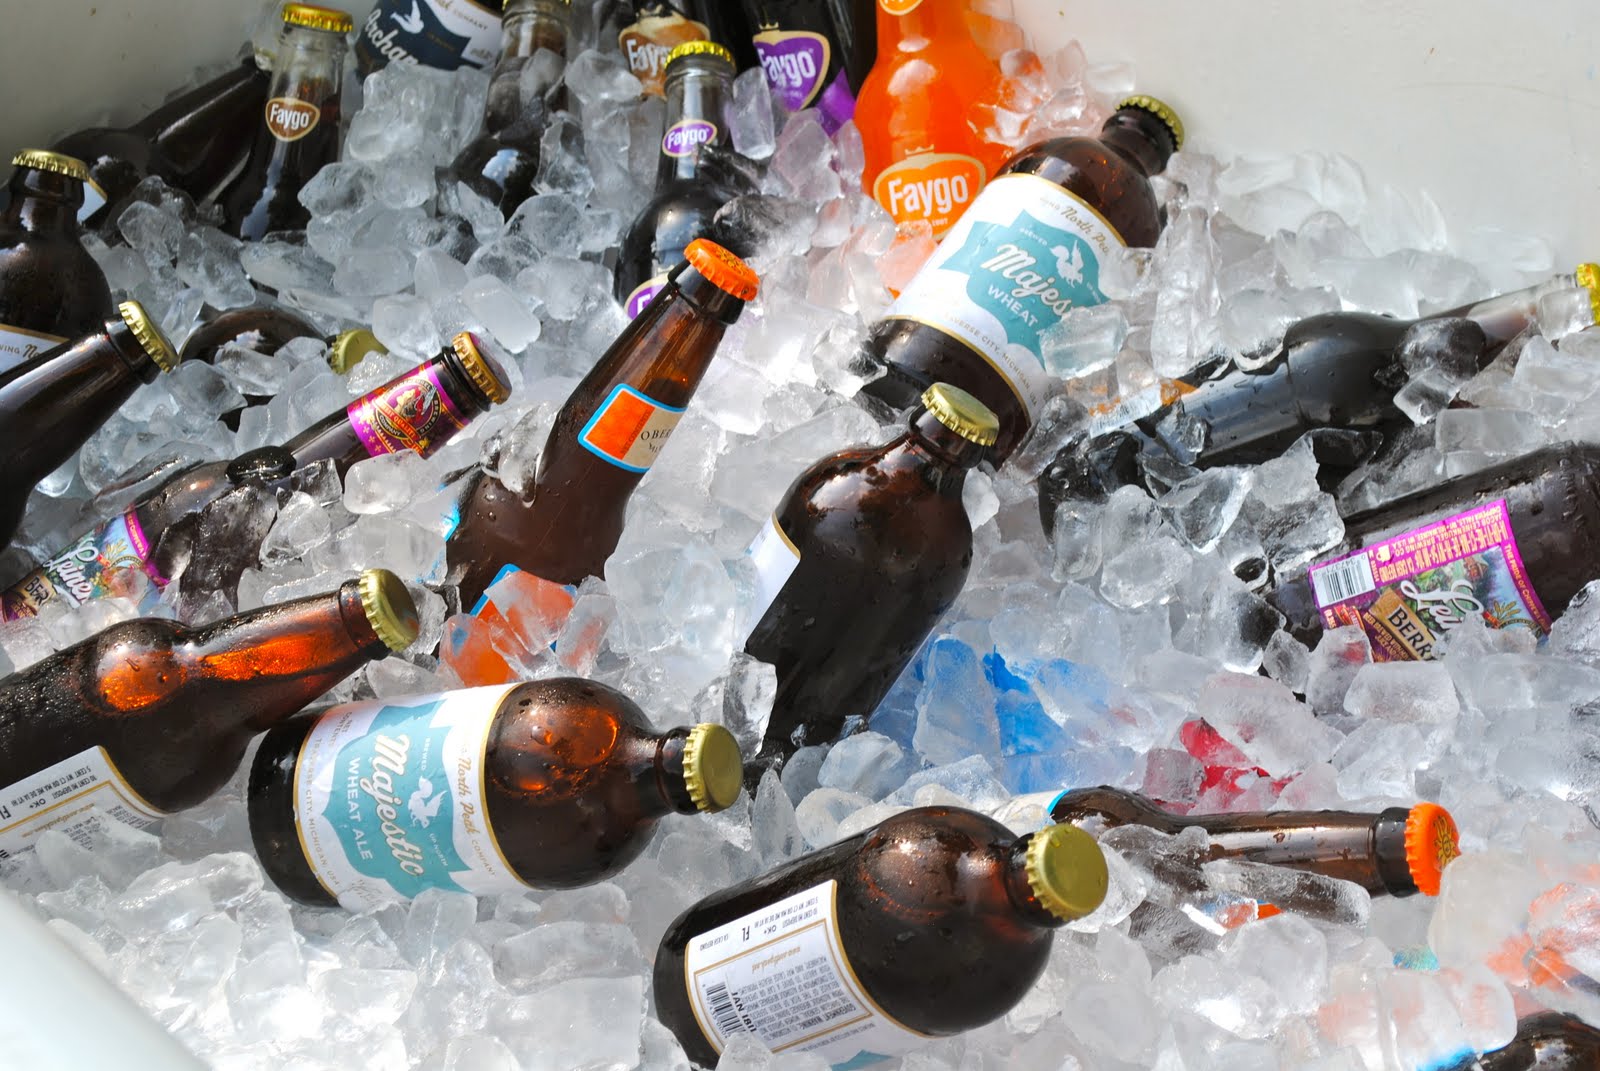
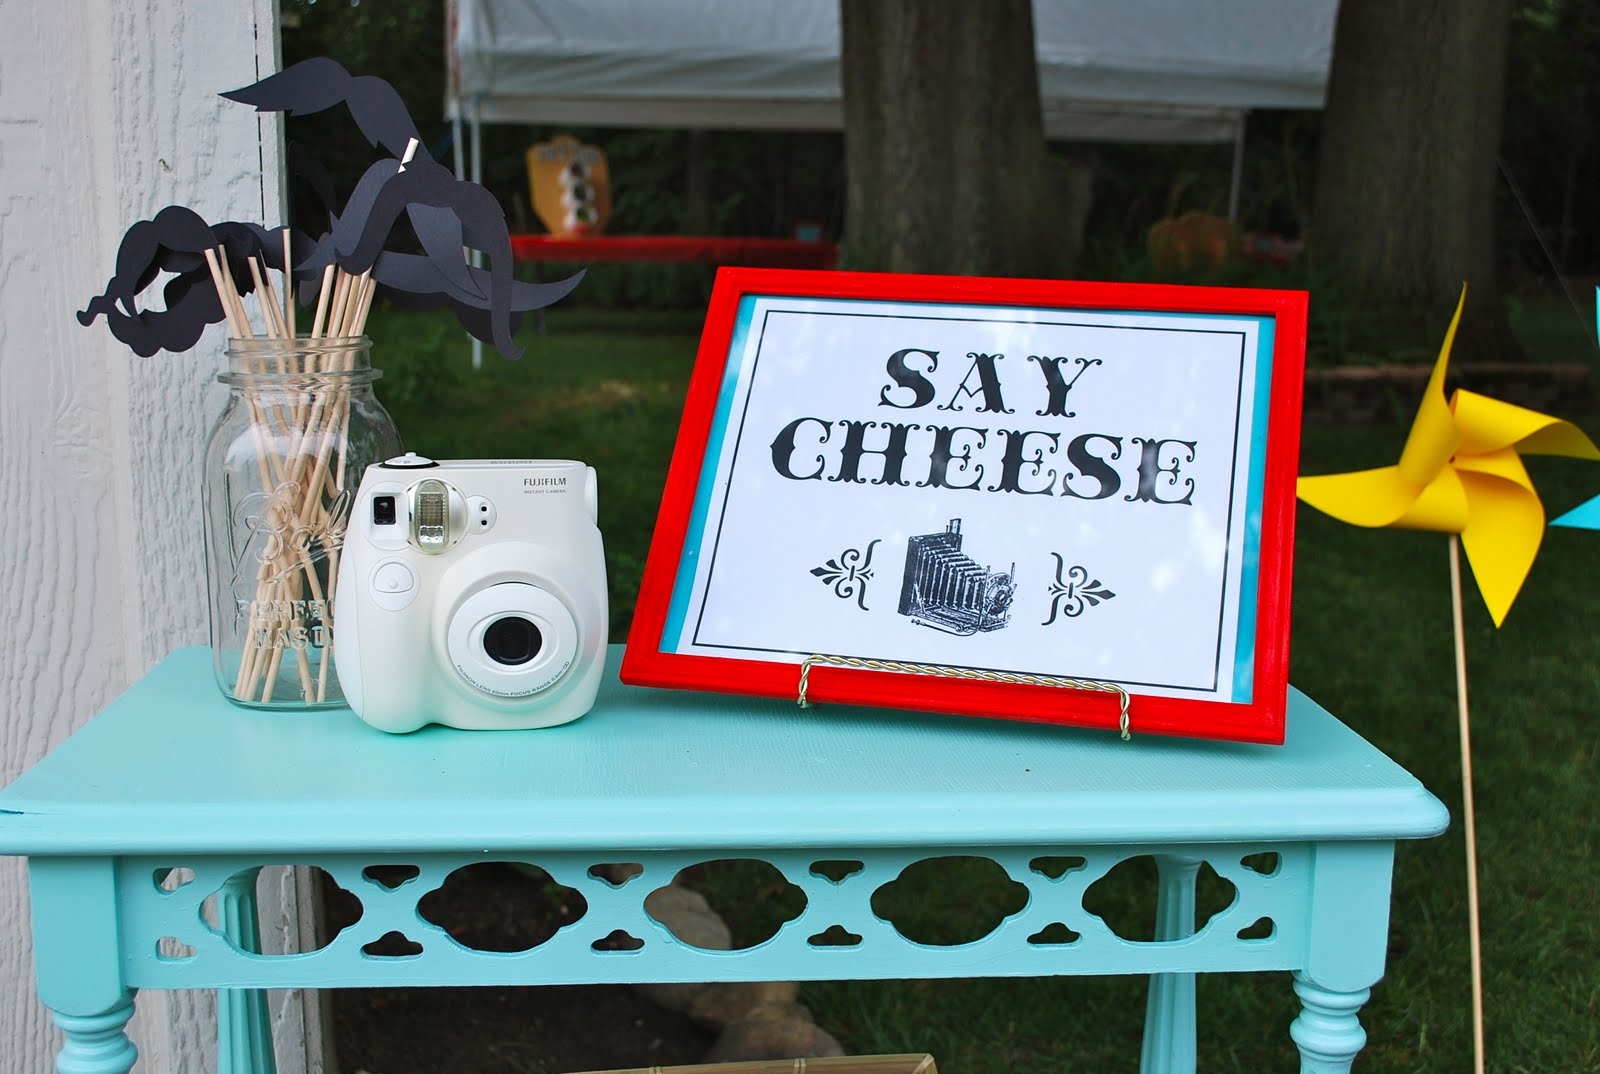
Hello! Again, I'm sorry I haven't been very active on Threadesque. Our Engagement Party was last weekend so I was very busy planning. I'm really happy how everything turned out! The party was held in my Grandparents' backyard. My Dad made our ticket booth & tickets were used throughout the party for food, games, the photo booth, exc. I made all of the paper pinwheels, rosettes, banners, & signage with help from my friends. We had cotton candy, popcorn, snow cones(food equipment rented from Detroit Popcorn), hot dogs, BBQ pork sliders, veggies on a stick, peanuts, chocolate mustache lollipops(which I made with a candy mold), & a huge desert table(pies from Grand Traverse Pie Company). The Polaroid photo booth was a huge hit! We had fun props(mustaches, oversized pinwheels, & Faygo soda). The game tent was another crowd favorite! We had 6 games: 3 classic carnival games which I rented from Time To Play rentals(Big Mouth, Coke Bottle Toss, & Stop and Throw) 3 handmade games: Balloon Dart Toss, Fishbowl Toss, & Duck Pond). The prize table consisted of finger traps, fortune telling fish, bouncy balls, parachute men, mini airplanes, snow cone chap stick, & of course.. real goldfish. For favors everyone was able to fill up a bag with retro candy from our candy bar! The tent was rented from Pip's Tent Rental, which was a lovely experience & I highly recommend his services. I really enjoyed the lemonade stand(lemonade shake ups, sangria, & sweet tea), vintage whisky/cigar bar, & our "Bake Sale". Enjoy photos!

Invitations/labels: http://www.etsy.com/shop/AidensMom37
Favor Boxes: http://www.etsy.com/shop/favormakers
Popcorn & peanut bags, and straws: http://www.etsy.com/shop/ThePartyFairy
Cupcake toppers: http://www.etsy.com/shop/imeondesign
Sweet love banner: http://www.etsy.com/shop/charmedbeginnings
Photo booth props: http://www.etsy.com/shop/PiccadillyPartyCo
Related Posts Plugin for WordPress, Blogger...