Showing posts with label glitter. Show all posts

Tuesday, January 3, 2012

RoseVintage Soiree!

OUR FIRST EVENT

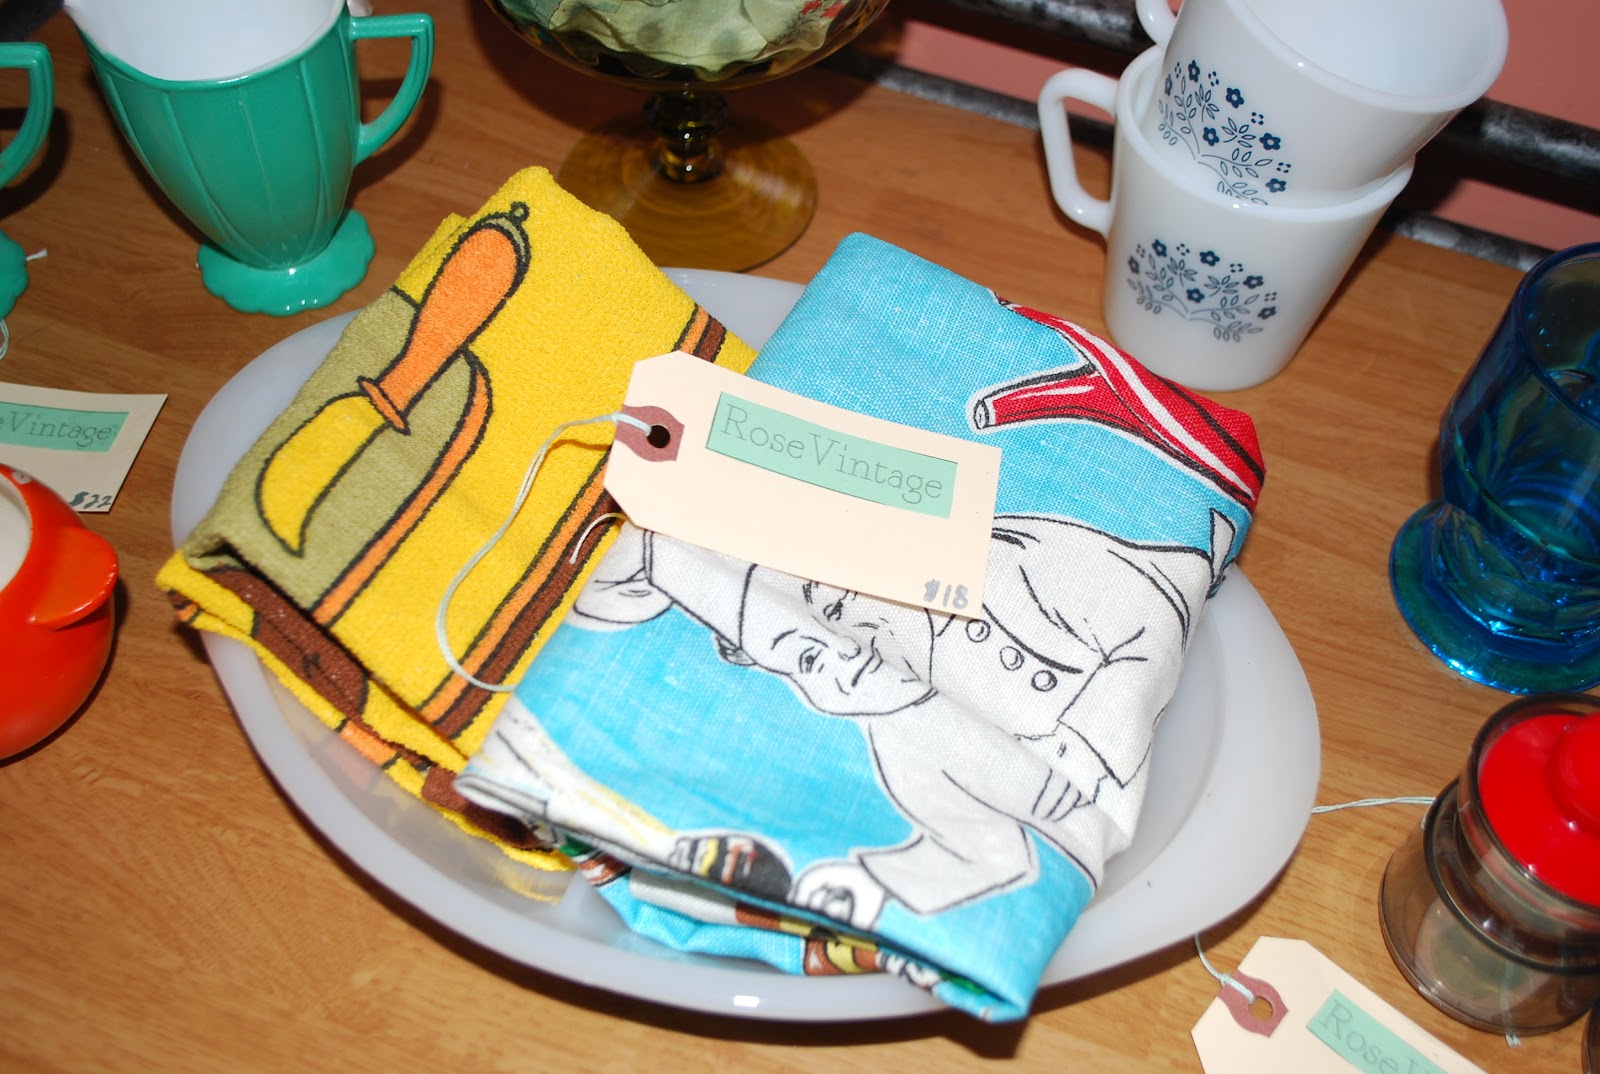
Over the weekend I threw a little party for RoseVintage! I thought it would be fun while I'm in Michigan visiting family. Since it was only a few days before NYE I thought it would be fun to serve champagne punch & use glitter throughout for details. A glitter RoseVintage banner hung over a granny square quilt welcomed you to the soiree! I served a cheese platter, veggie tray, stuffed mushrooms & roll ups as hors d'oeuvre. To drink, we had an amazing champagne punch (recipe coming soon)! I love dessert tables.. it's my favorite part of any party! I decorated cupcakes with glitter sprinkles & made red velvet cake & petit fours! The event was a huge sucess & I was finally able to use Square (love it)! 


Hope to see you at the next RoseVintage event! :)

Tuesday, December 20, 2011

DIY Glitter Ornaments


Hi friends! It was such a pleasure guest posting for A Cup of T! I decided to share the post on here just in case you missed it! Sorry I haven't posted much lately, I'm in Michigan visiting family for Christmas. I will try my best to post as often as possible! 

What you need:

Glitter(I finally bought the 24 pack of Martha Stewart glitter!)
Ornaments
Glitter glue
Paint brush 

Pick your glitter colors! After much consideration, I went with traditional Christmas colors, red & green! 


Step 1: Use your glitter glue pen to draw your initial on the ornament
Quick tip - If you mess up, you can easily fix with a q-tip! 
Step 2: Sprinkle glitter onto the glue! 
Quick tip - The more the better!
Step 3: Let the glue dry! While you wait I highly suggest listening to the She&Him Christmas album & drinking hot cocoa!
Step 4: After the glue dries, gently tap the ornament to remove the excess glitter. Use a tiny paint brush to tidy up the edges.
Step 5: Hang on your tree! 


MERRY CHRISTMAS! 
Related Posts Plugin for WordPress, Blogger...